


A nursery can become a very expensive puzzle remarkably quickly. One minute you are comparing baby monitors, and the next you are weighing mounts, sleepwear, displays and sound machines. My preferred approach is to build the setup in layers: start with the job you need the technology to do, then add the pieces that make everyday use easier. Nanit is a natural fit for that method because its system brings sleep tracking, breathing motion monitoring and real-time safety notifications into one connected range.
This guide is for parents, gift-givers and registry builders who want a clear route through the options. The Nanit monitor collection is the sensible starting point, but the right order matters. Read the product details on the exact Nanit product page before ordering, since prices, availability and compatible accessories can change.
Heads-up: we earn a commission from some links in this article. It never changes the price you pay.
Nanit monitors for your nursery layout
Begin with placement, not features. Measure where the crib sits, decide whether you want a fixed wall view or a flexible setup, and think about whether you might monitor more than one child later. The Smart Baby Monitor + Flex Stand is the approachable choice when you want to move the camera between surfaces or rooms. Its Flex Stand format also makes it useful for families who are renting or do not want to begin with wall hardware.
If your nursery layout is settled, compare the wall-mount monitor options instead. Nanit describes the system as expandable, with dual or triple camera configurations and split-screen monitoring. That is a practical distinction for a growing family: you can plan the initial purchase around one room without ruling out a second view later. Always check the mount compatibility details before adding accessories.
- Fixed nursery: consider a wall mount for a consistent overhead view.
- Flexible placement: choose the Flex Stand if portability matters.
- More than one room: investigate the expandable multi-camera setup.
- Night checks: confirm the app and notification settings you expect to use.
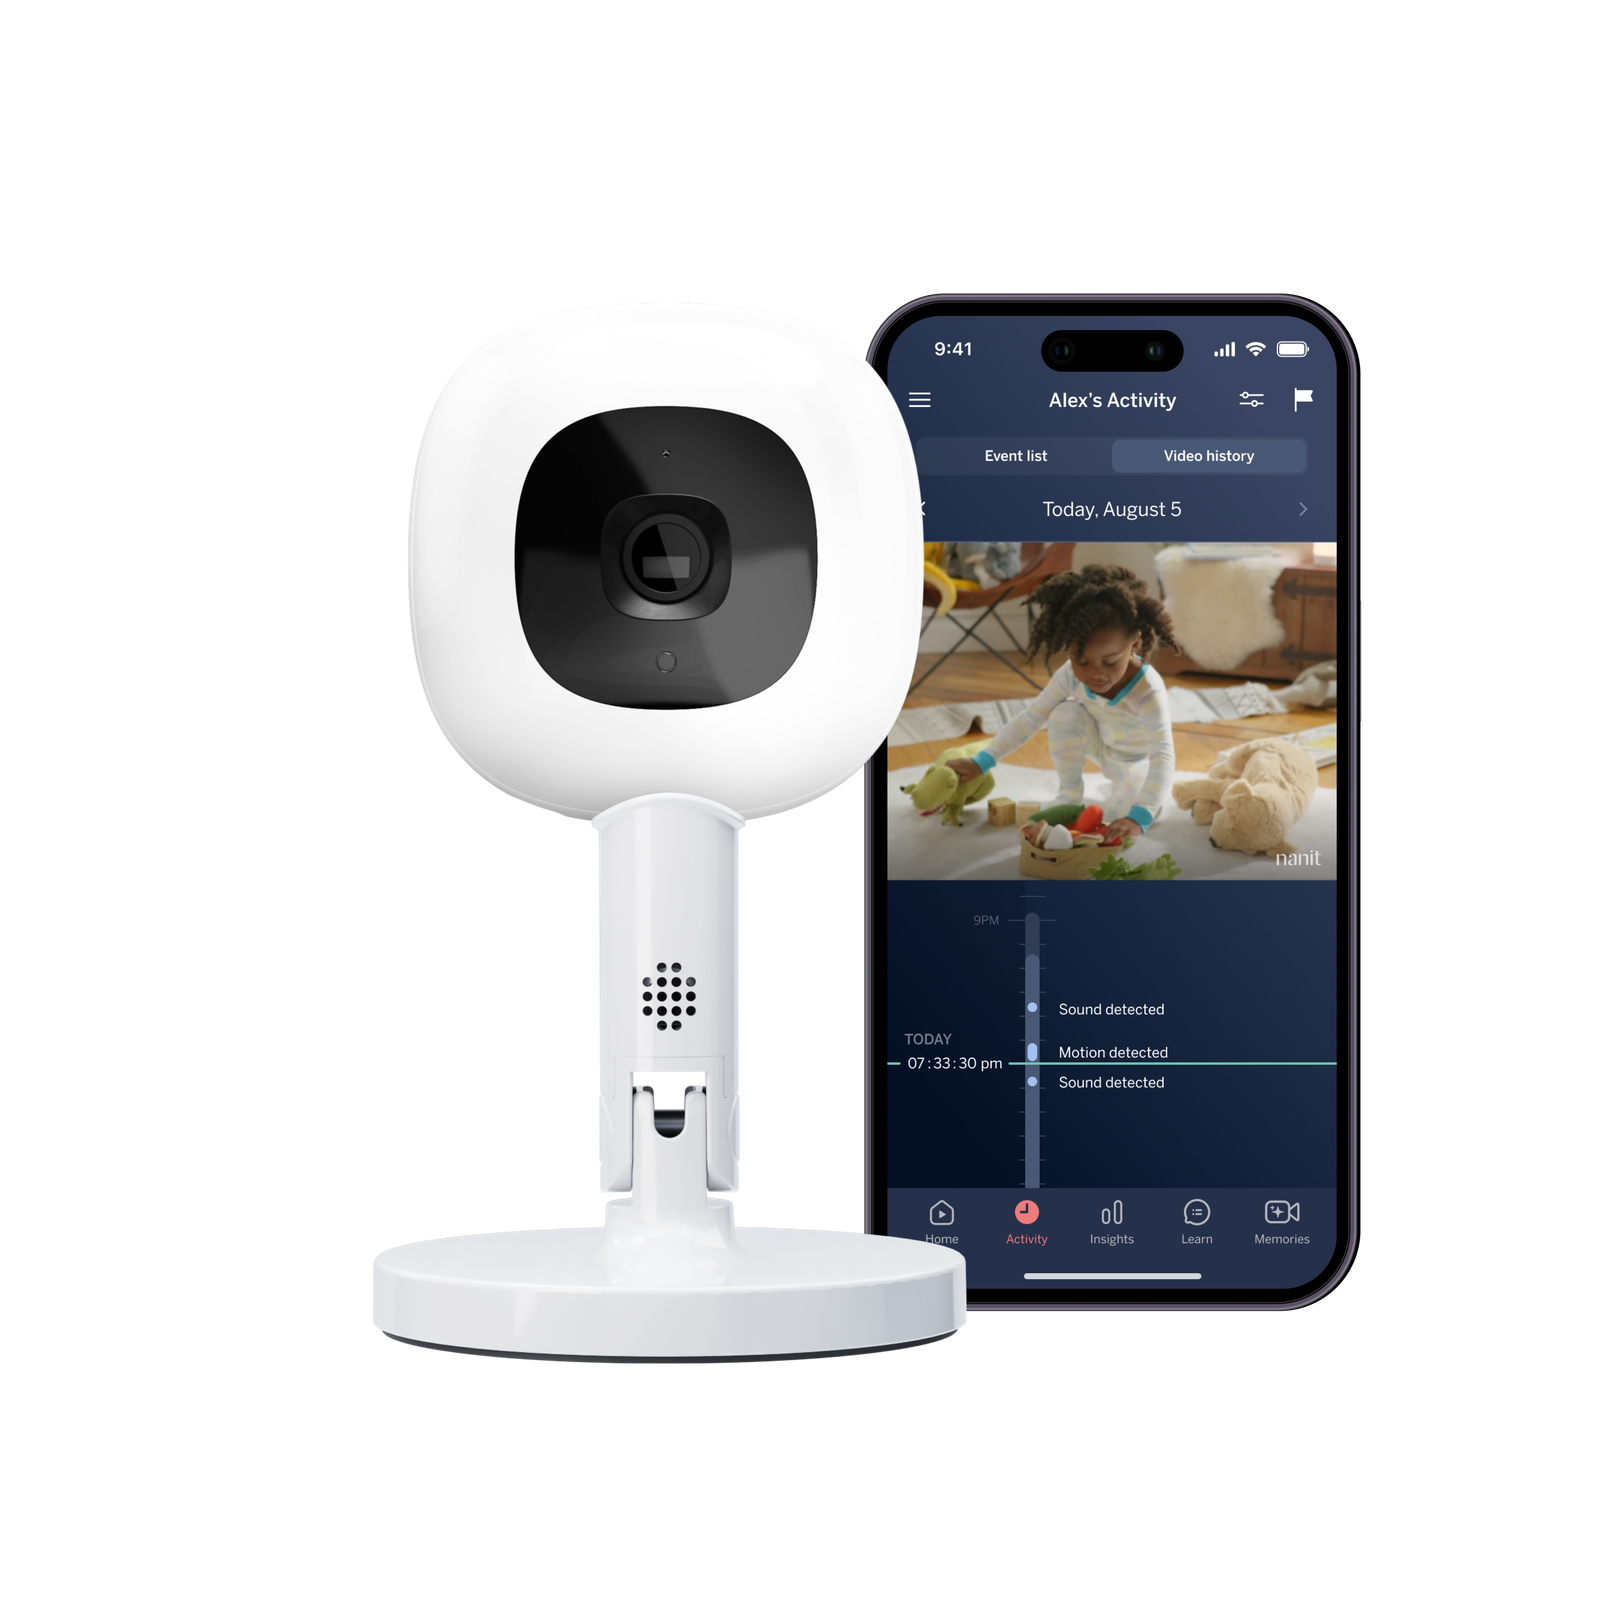
Once placement is clear, review the feature set with a realistic routine in mind. Sleep data is useful when it answers a question, such as whether a nap is becoming more consistent, rather than when it becomes another dashboard to check compulsively. Nanit also highlights breathing motion monitoring with compatible wear, age-based guidance, video history and real-time safety notifications. Read the monitor feature overview and the privacy and security information before you make the system part of your home.
Nanit accessories for monitoring and sleep
The next decision is whether your priority is monitoring, sleep comfort or convenience. The Best Sellers Bundle combines several popular pieces, making it worth comparing for a registry or first setup. A bundle can be efficient, but only if you would genuinely use most of its contents. Check the bundle contents against the standalone monitor price before assuming it is the best value.
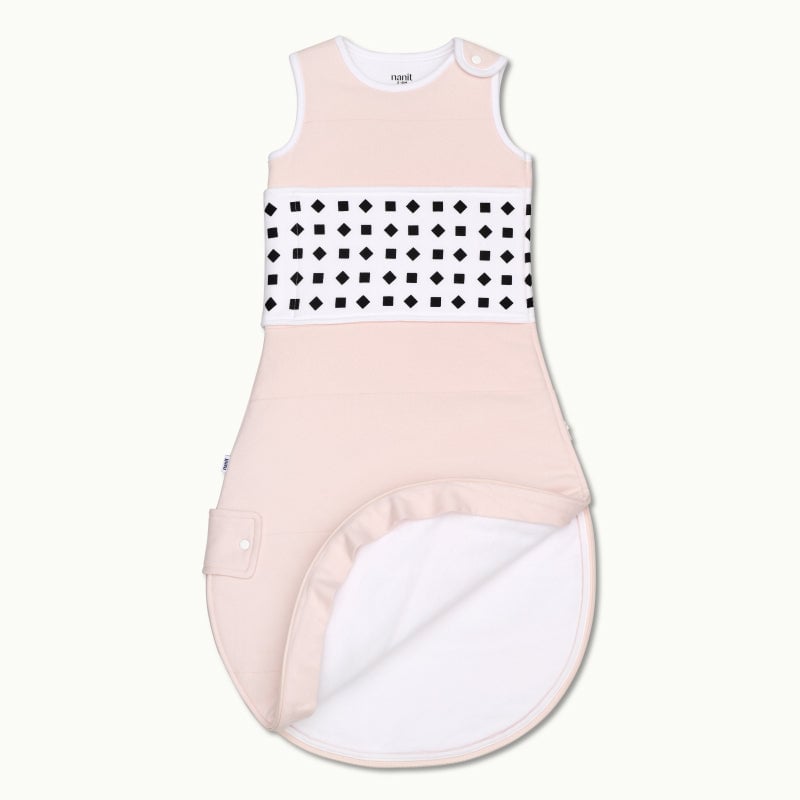
For a more focused purchase, the Breathing Wear Quilted Sleeping Bag is the sort of product to consider only if it fits your child’s current size and your preferred sleep routine. Review the Breathing Wear sizing and compatibility notes carefully. The value here is not adding another gadget. It is pairing a compatible wearable with the monitoring features you actually plan to use.
- Choose the camera and placement first.
- Confirm which features require compatible accessories or app support.
- Buy one sleepwear piece in the correct size before buying multiples.
- Use the bundle comparison only after listing what you really need.
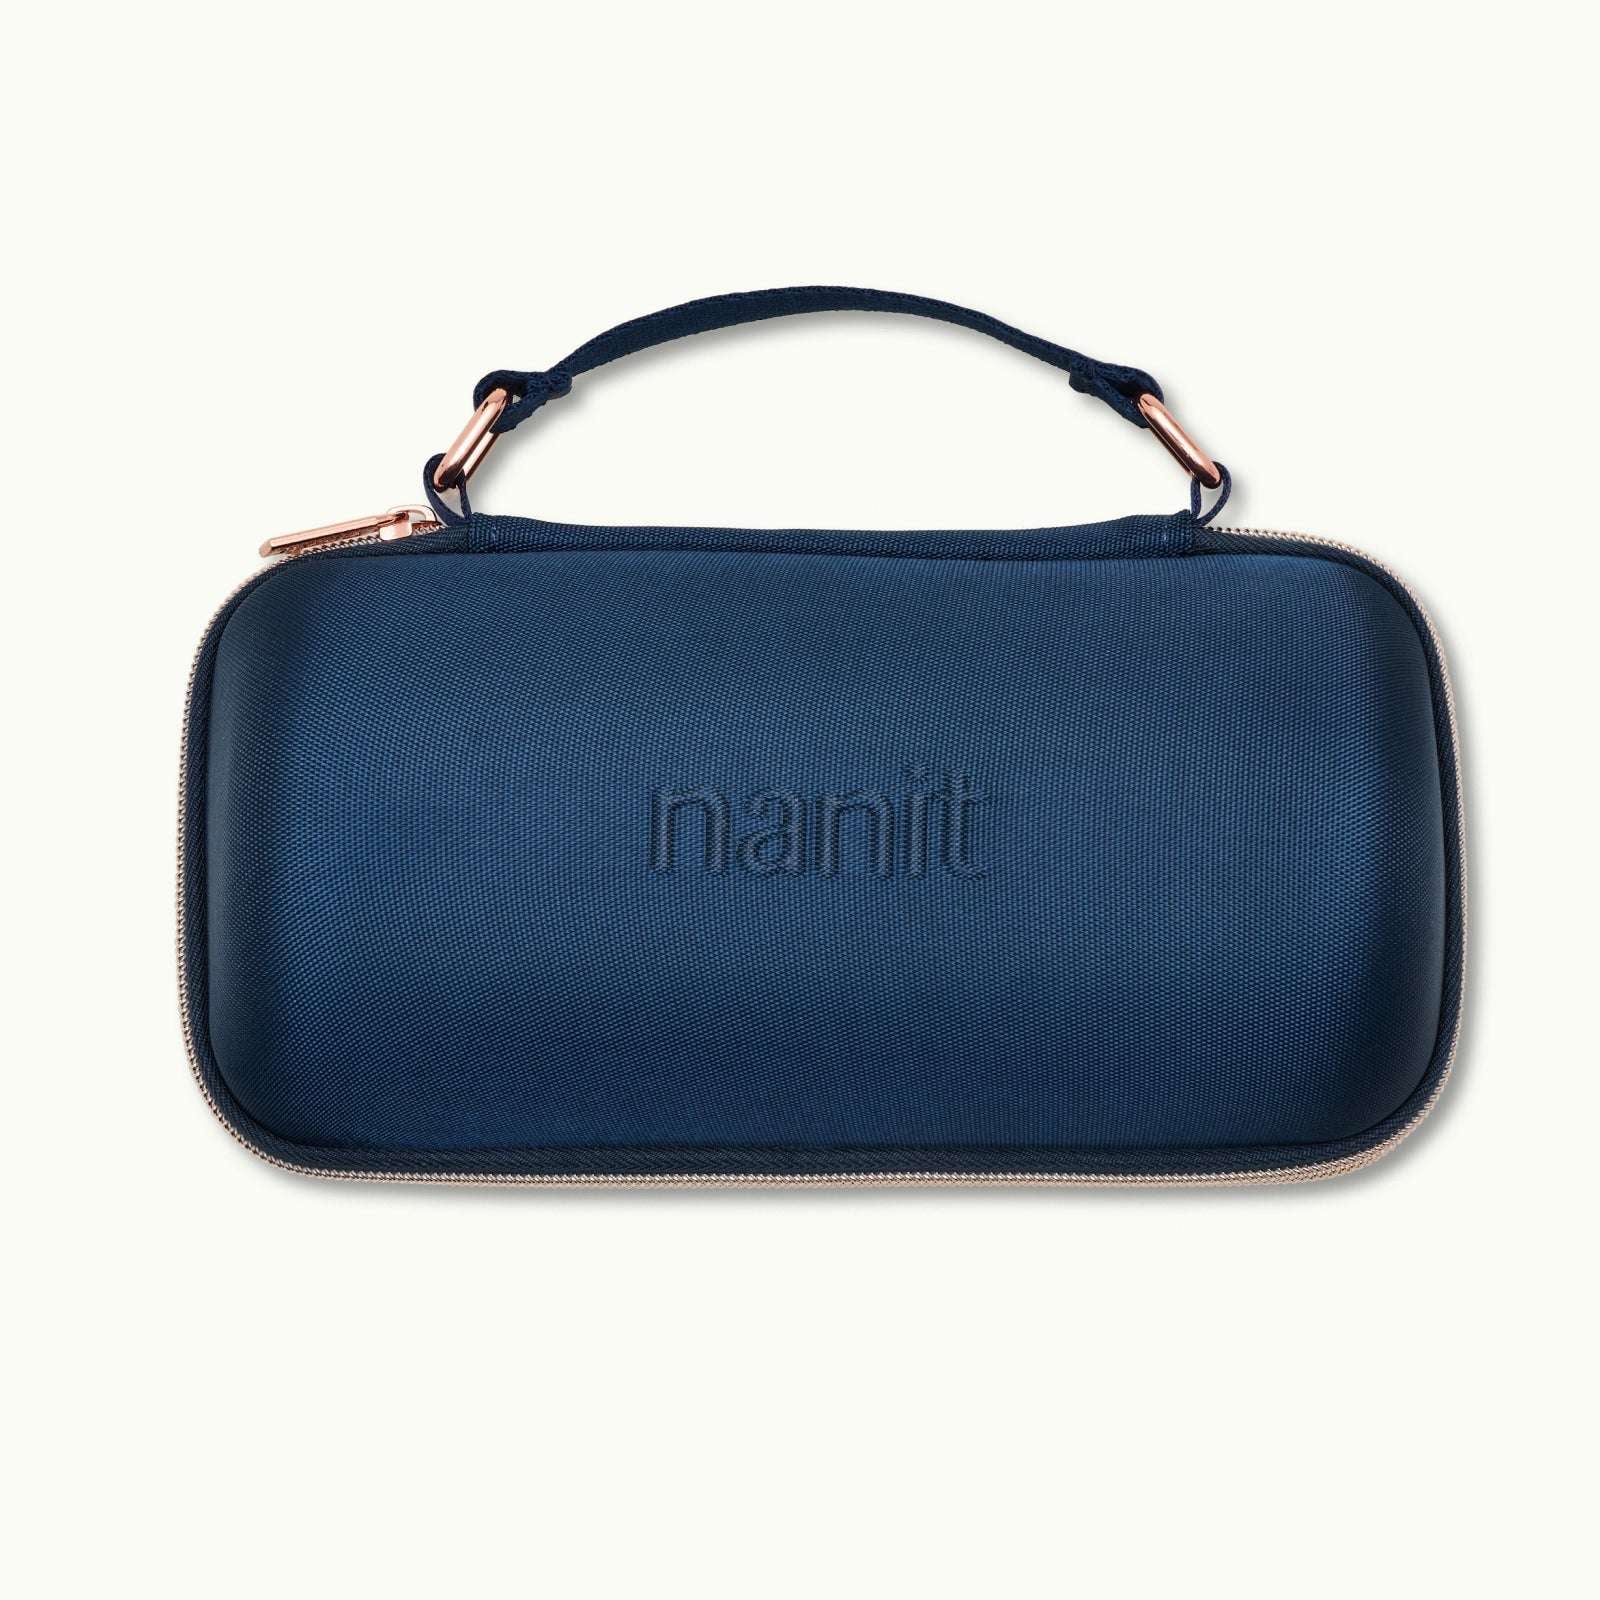
My rule is simple: one clear use case per addition. If you want breathing motion insights, investigate compatible Breathing Wear. If your real frustration is settling the room after a night waking, look at sound support. The accessories collection is broad enough to browse, but it should not turn into an automatic shopping list.
Nanit data for a calmer sleep routine
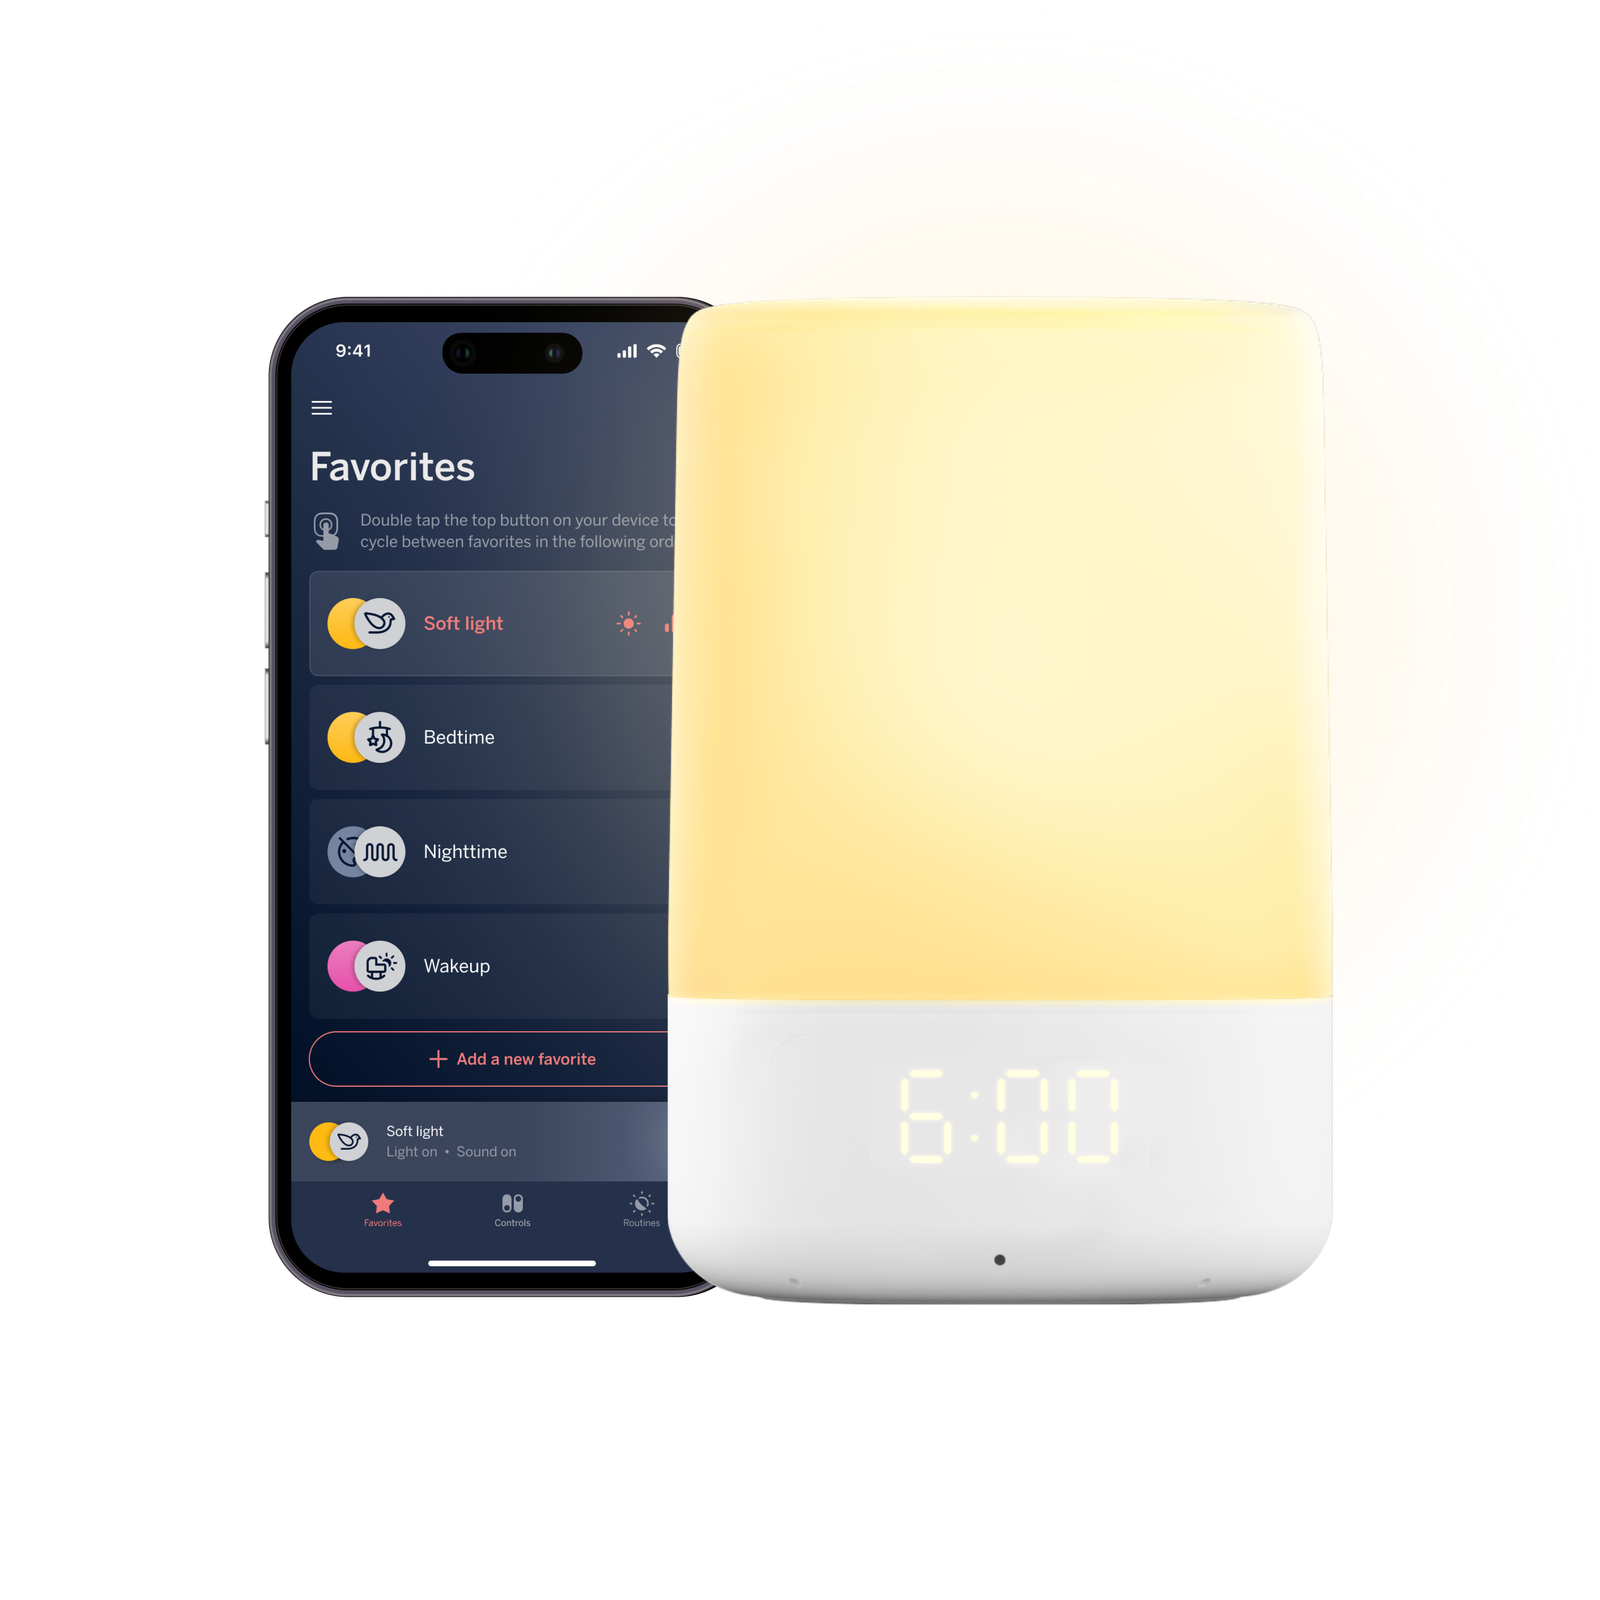
A monitor is most useful when it supports a routine rather than replacing one. Set the notification preferences, decide who needs access, and agree on which changes deserve attention. Then give the room a predictable wind-down cue. Nanit’s Sound + Light Machine is designed around sound and light control through the app. It offers a separate way to support bedtime without asking the camera to do every job.
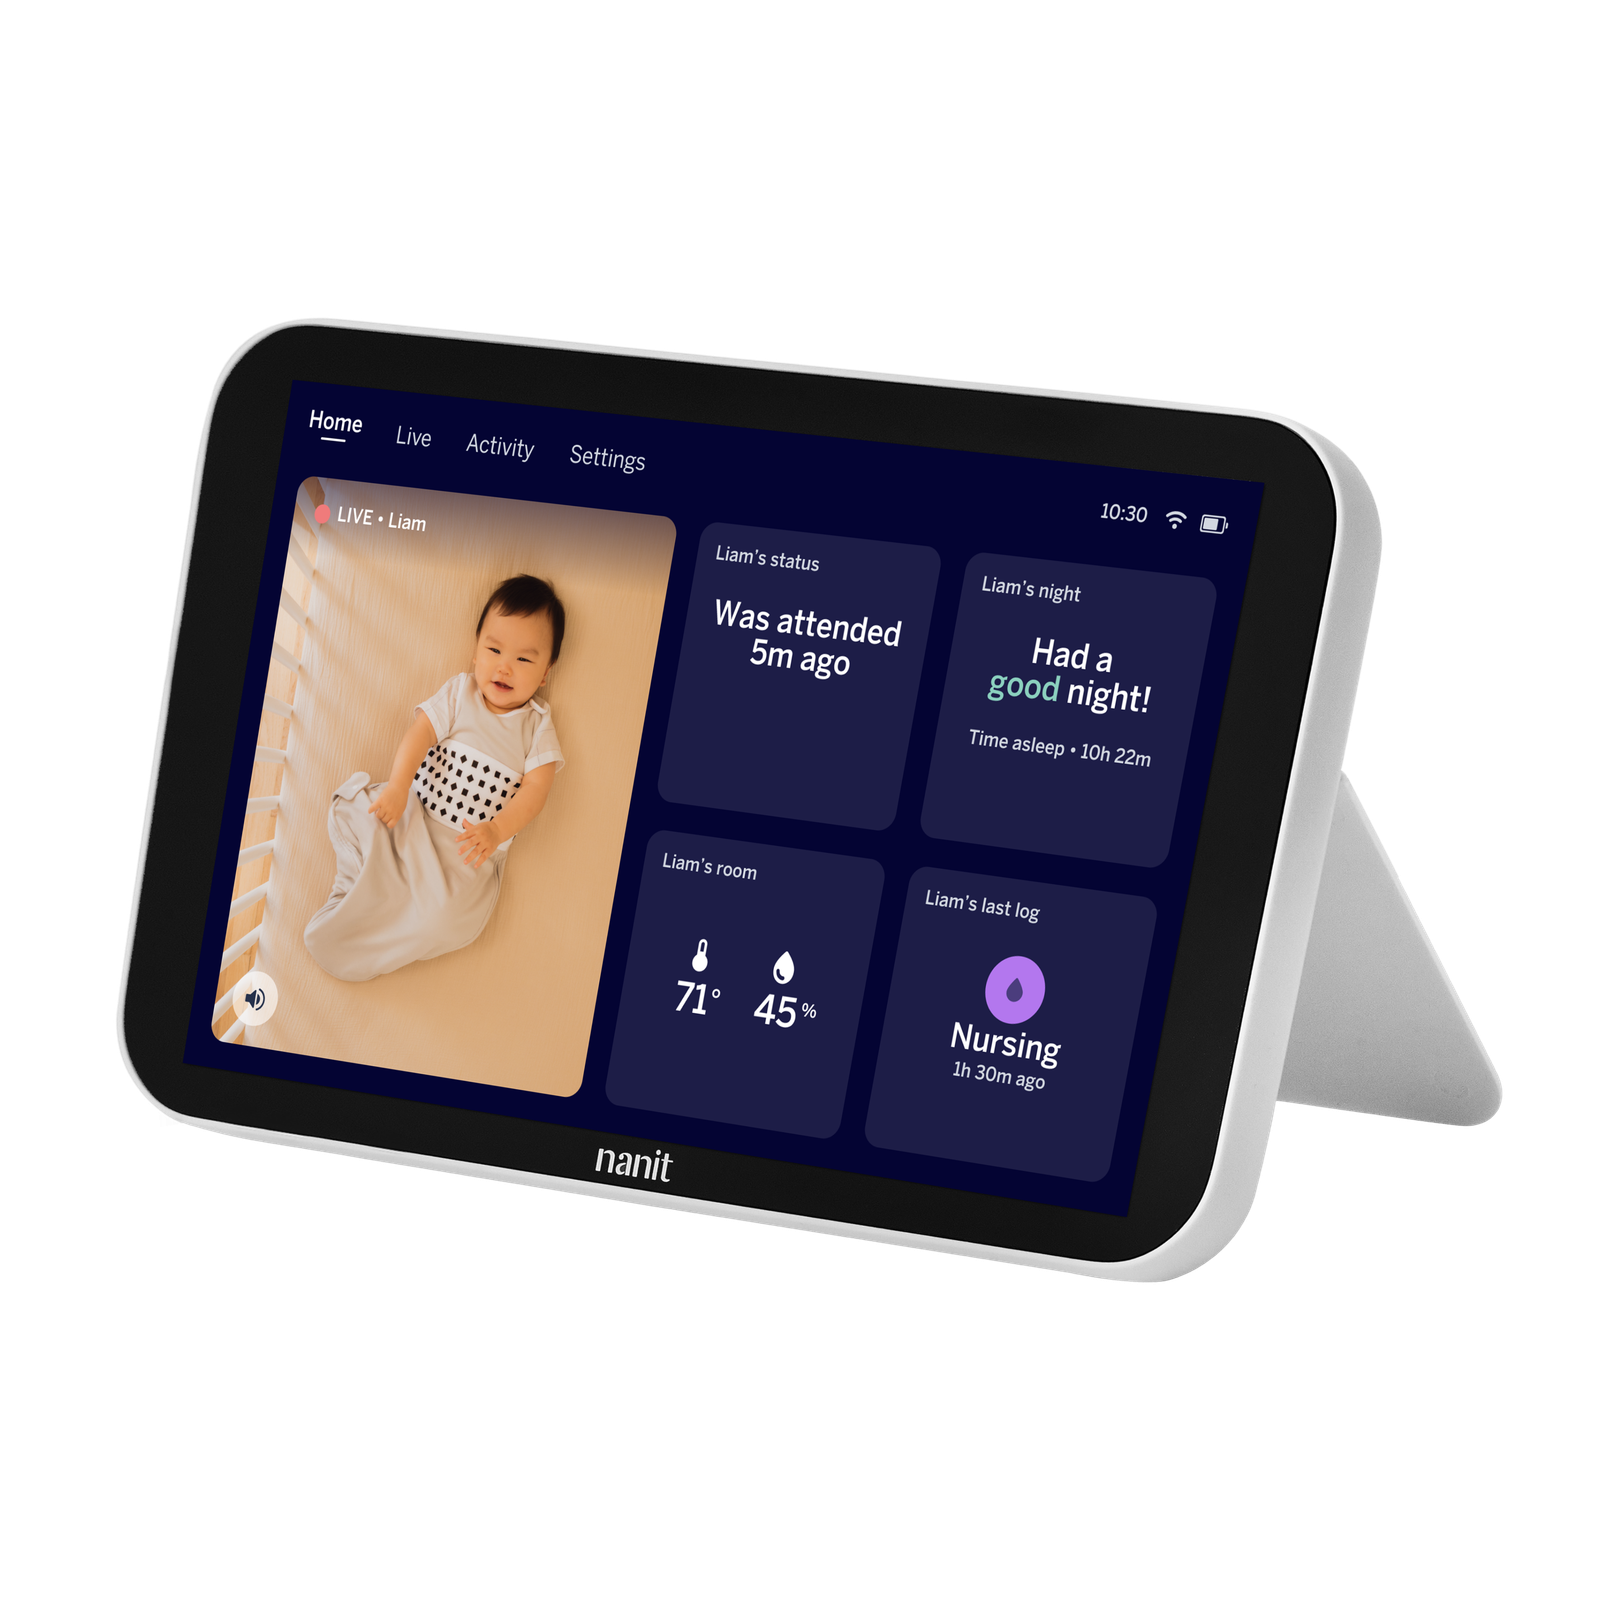
If you prefer a dedicated screen rather than checking a phone, compare the Home 8" Display. A separate display may make quick checks feel less distracting, while the app remains useful when you are away from the nursery. Look at the display details alongside your household’s habits. The most expensive option is not automatically the most calming one.
- Set a consistent bedtime sound or light cue.
- Keep alert settings useful rather than overwhelming.
- Use sleep history to spot patterns, not to judge one difficult night.
- Review who can access the camera and how long video history is retained.
- Revisit the setup as your child and room change.
For families using more than one camera, the multi-camera options are worth investigating before you buy a second standalone system. Split-screen monitoring can reduce app-hopping, and an expandable setup may be more coherent over time. Still, begin with the single-camera configuration that suits your present room.
There is also a small style detail for design-conscious nurseries. Cammies covers are available as a single option or a multipack. They do not replace a core feature, but they can make the camera feel less stark in a carefully considered room. Treat them as a finishing touch, not a reason to compromise on placement or safe setup.
A Nanit setup for your nursery
If I were starting from an empty nursery, this would be my sequence. It keeps the decisions concrete and leaves room to learn how the household actually uses the system.
- Map the room: choose wall mount or Flex Stand based on placement.
- Select the monitor: compare the current Smart Baby Monitor options and exact price.
- Add compatible wear: consider the Quilted Sleeping Bag only when sizing and use case are right.
- Set the routine: add the Sound + Light Machine if a dedicated wind-down cue would help.
- Expand later: compare the Home Display, bundles or a second camera after the first setup feels settled.
My verdict: Nanit’s strongest appeal is the way the products can grow from one monitor into a considered nursery system. The brand combines useful monitoring features, compatible sleep accessories and optional display or sound tools, so you can build around your actual needs. Start with placement, check the exact product information, and add one layer at a time. That is how the setup stays helpful rather than becoming another source of noise.
Before checkout, compare the full Nanit range, read the shipping information, and confirm that the selected monitor and accessories match your room. Nanit advertises free shipping above a minimum order value and a money-back guarantee, but the live terms should always be your final reference.